As I said in one of my recent reviews, during cold winter days, I prefer smaller FPV drones like this Eachine QX70. Adopting ducted propellers, they are totally “harmless” for indoor practice. Even my curios cat is safe with them :)
This “ducted” madness started with the Tiny Whoop, whose biggest downside was the high price. Later, manufacturers like Eachine tried to offer much cheaper products under the same coat.
I have just read a review of the Eachine QX70, in which the author was disappointed by this model. He claimed that this Turbine QX70 has only 2 minutes of flight autonomy. If it’s true, the owners will need more than one spare battery to enjoy it.
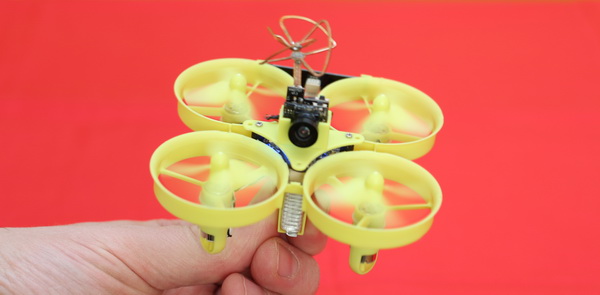
Eachine QX70 quadcopter review
I received this mini FPV quad together with the FatBee FB90 about two weeks ago from Banggood to make an honest, impartial review. Thanks again for their professional attitude and continuous support.
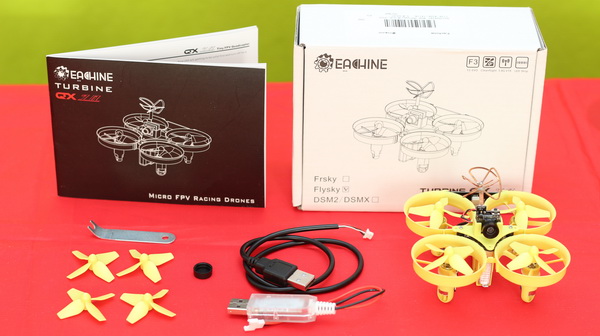
Inside the box, besides the tiny QX70, I found a complete set of spare propellers, USB charging cable, a USB to FC cable, a propeller removing tool, and a detailed user guide (English). No spare battery or spare motors included like we were accustomed to similar products from Eachine.
Eachine Turbine QX70 features and specs
- Ducted propellers (Industrix design);
- F3 Evo brushed flight controller with CleanFlight;
- Integrated RX module (DSM2/DSMX, FlySky or FrsKy);
- Multiple flight modes (Angle, Horizon, and Rate/Acro);
- 5.8G VTX FPV camera;
- 8520 coreless (brushed) motors with connectors;
- 40mm 4-blade propellers;
- MicroLOSI battery connector (recommended 1s 600 mAh);
- Status LED strip;
Eachine QX70 review – At a glance
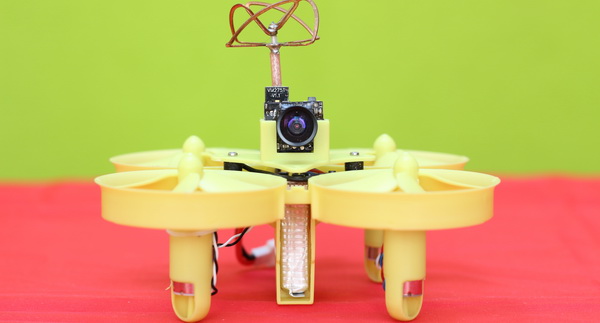
To fit into the box, the AIO FPV camera comes soldered but not mounted. The motors come with connectors that allow easy soldering-free replacement.
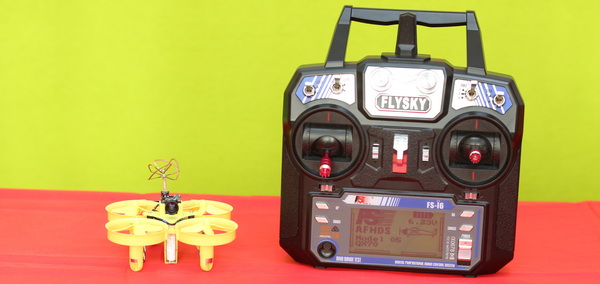
Except for the camera, everything is yellow: frame, propellers, battery holder, and even the camera mount. On top of the camera is an omnidirectional clover antenna, which I’m not sure how many crashes will survive…
The 600 mA battery comes loaded. Firstly, I thought the vertical orientation of the battery would give more stability, but later, I decided it was a big cons.
As mentioned, the RX module is integrated into the flight controller. A tiny wire serves as RX antenna.
Instead of a more generic micro USB port, the FC features a 4-pin connector (for fine-tuning and firmware upgrade), so keep the included dedicated cable safe. Buzzer pins are present on the FC, but nothing is connected.
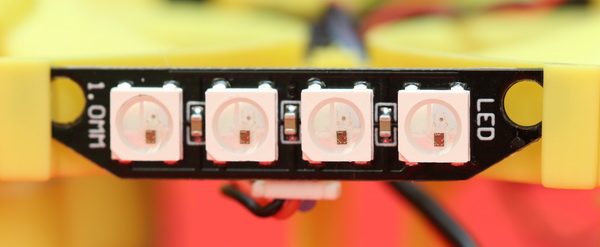
Thanks to the very bright tail light, the Eachine QX70 Turbine is very visible in low light conditions. The four RGB LEDs are pre-configured and indicate when the motors are armed/disarmed, turning left/right or backward. Through the CleanFlight APP, you can customize them as you wish.
Eachine QX70 Review – Camera
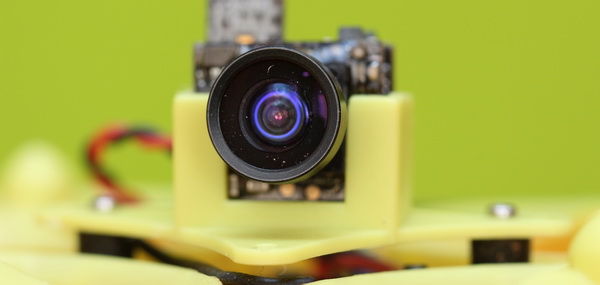
The QX70 adopts the same 520TVL camera as its “bigger” brother, the FB90. The advertised output power of the integrated 48CH 5.8G VTX is 25mW.
On top of the camera, there are two control buttons. By long pressing (for 2 seconds) the frontal one you can toggle between PAL and NTSC video standards. The rear one allows changing the frequency group and channel number (long press for Band and short press for CH).
On the rear part, there are two rows of status SMD LEDs. While the bottom row has 8 LEDs and shows the selected channel, the upper row has 6 LEDs and shows the actual transmission band.
Although the QX70’s camera is one of the smallest VTX cameras that I had in my hand (sizes only 14 x 12 x 5 mm), it offers good light handling and nice vivid colors. The FPV range is also quite good for such a small drone. I received a good signal through two thick brick walls.
Eachine QX70 Review – First setup. Binding with RC
Thanks to the “Bind” button, pairing the QX70 with your transmitter is safer (eliminating accidental short circuits) like in the case of Eachine QX95.
Following the instructions from the QX70 user manual anyone can easily pair the drone with their remote controller in just a few minutes.
After you are done with the binding process, you need to assign the aux channels for the motor arm/disarm and for the flight mode switch.
To review the failsafe settings and flight modes, you need to install CleanFlight utility.
Eachine QX70 Turbine Review – First Usage & Test
Based on my experience with the much larger X5C-1, which has about 5-7 minutes flight time and it is powered by a similar 600 mAh battery like this tiny QX70, I would have expected to fly it till I get bored. But NO! After only two minutes indoors, the Eachine QX70 started to lose altitude and wobble. I tested it with two different fully charged batteries, the results were the same.
Although on the box of the drone, it is specified: as “Micro FPV Racing drone“, I find the QX70 very slow. It doesn’t have the speed of the FB90 or even the QX90.
Outdoor, it has no fun. Flight time is about 1 minute. The large propeller protectors and vertically installed battery act as a sail on the slightest breeze.
I read that replacing the stock propellers with Hubsan 3-leaf propellers can improve flight time and performance. I already ordered four sets of them; hopefully, they will be worth it.
Pricing and availability
If, after reading my review, you are still interested in purchasing this QX70, you should know that it can be found here with 10% off for $61.99 (with FlySky receiver and free shipping). Spare batteries are available beginning at $4.5.


Visitor Rating: 4 Stars
Thanks for the user manual. I just received the QX70 and I’m learning how to pilot this thing
Visitor Rating: 4 Stars
Visitor Rating: 3 Stars